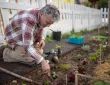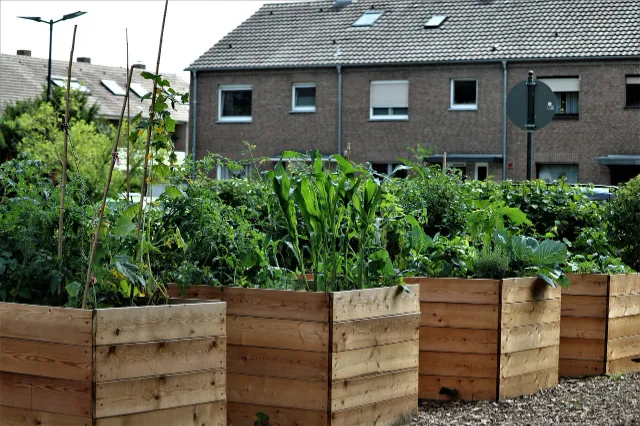
Growing your own vegetables and herbs can be a rewarding and sustainable way to connect with nature while enjoying the freshest produce right from your backyard. One of the best ways to optimize your gardening space and make it more efficient is by building a raised garden bed.
Raised garden beds offer several advantages, such as better soil quality, improved drainage, and reduced weed growth. In this guide, we will walk you through the steps to create an easy-to-build raised garden bed that will enhance your gardening experience.
Benefits of Raised Garden Beds
Before diving into the step-by-step process of building a raised garden bed, it’s essential to understand why they are a valuable addition to your garden:
- Improved Soil Quality: Raised garden beds allow you to control the quality of the soil, making it easier to provide your plants with the ideal growing conditions. You can tailor the soil mix to your specific needs, ensuring better nutrition and water retention.
- Better Drainage: Raised beds offer excellent drainage, preventing waterlogged soil and root rot. This feature is especially helpful in areas with heavy rainfall.
- Reduced Weeds: Raised garden beds raise your plants above ground level, minimizing the chances of weeds taking root in your garden. You’ll spend less time weeding and more time enjoying your garden.
- Pest Control: Elevated garden beds make it more challenging for ground-dwelling pests to access your plants, reducing the need for chemical pesticides.
- Extended Growing Season: The soil in raised beds warms up faster in the spring, allowing you to start planting earlier and extend your growing season into the fall.
Now that you understand the benefits, let’s get started with building your own easy raised garden bed.
Materials and Tools
Before you begin, gather the necessary materials and tools:
Materials:
- Wood boards (cedar or treated lumber is recommended) – 2″x6″ or 2″x8″ boards work well for the sides of the bed.
- Corner brackets or corner stakes (optional but recommended for stability).
- Screws (2.5″ to 3″ deck screws are suitable).
- Landscape fabric or cardboard (to prevent weeds).
- Soil mix (a blend of compost, topsoil, and organic matter).
- Garden stakes (for marking the bed and planting).
Tools:
- Measuring tape.
- Saw (to cut the boards to the desired length).
- Drill with screwdriver bit.
- Level (to ensure your bed is even).
- Work gloves.
- Safety glasses.
- Shovel and rake (for preparing the site and filling the bed).
Step-by-Step Guide
Now that you have all the materials and tools ready, let’s go through the steps to build your easy raised garden bed:
- Choose a Location: Select a suitable location for your raised garden bed. Ensure it receives at least 6-8 hours of sunlight per day and has easy access to water. It’s also essential to level the ground where you plan to place the bed.
- Measure and Plan: Decide on the dimensions of your garden bed. A typical size is 4 feet wide by 8 feet long, but you can adjust this based on your space and needs. Use the measuring tape to mark the desired size and location.
- Cut the Boards: Using your saw, cut the wood boards to the appropriate lengths for the sides of your bed. For a 4×8-foot bed, you’ll need two 4-foot boards and two 8-foot boards. If you prefer a taller bed, you can stack two sets of boards on top of each other.
- Assemble the Frame: Lay out the boards in a rectangle to form the frame of your raised bed. Make sure the corners are flush and that the frame is level. If you want added stability, attach corner brackets or corner stakes at each corner. Use the drill and screws to secure the boards together.
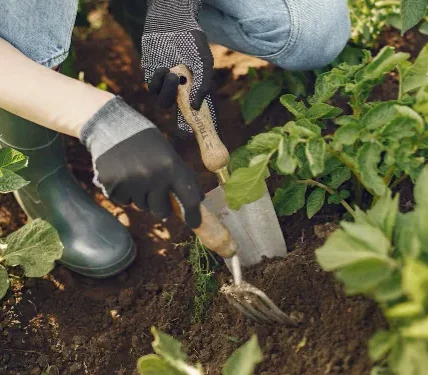
- Prepare the Ground: Before placing the frame in its final location, clear the area of grass, weeds, and debris. Use a shovel and rake to level the ground underneath the bed.
- Lay Weed Barrier: To prevent weeds from growing up into your raised bed, lay down landscape fabric or cardboard inside the frame. Trim it to fit the dimensions of the bed and secure it in place with staples or garden stakes.
- Fill with Soil Mix: Now, it’s time to fill your raised garden bed with soil. A high-quality soil mix consisting of equal parts compost, topsoil, and organic matter is ideal. You can purchase pre-mixed soil or create your own blend. Fill the bed to the top, leaving about an inch of space at the top.
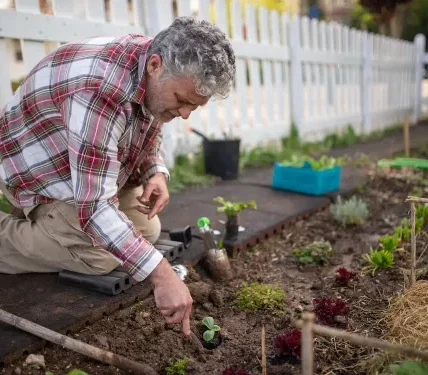
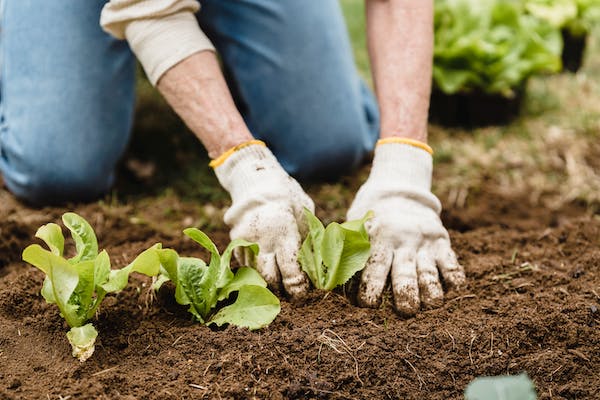
- Plant Your Garden: Use garden stakes or markers to plan out your planting layout within the bed. This will help you space your plants correctly and create an organized garden. Dig holes for your plants and place them in the soil. Make sure to water them thoroughly after planting.
- Mulch and Water: To conserve moisture, suppress weeds, and protect your plants, apply a layer of mulch on top of the soil. Wood chips, straw, or leaves are excellent choices. Water your plants regularly, ensuring the soil stays consistently moist but not waterlogged.
- Maintenance: Keep an eye on your garden bed throughout the growing season. Regularly check for pests, diseases, and any signs of nutrient deficiencies. Water as needed, and be sure to harvest your crops when they’re ready.
Building an easy raised garden bed is a fantastic way to enhance your gardening experience and enjoy the many benefits it offers. With the right materials, tools, and a little effort, you can create a productive and beautiful garden that yields fresh, homegrown produce. Remember to tailor your garden bed to your space and preferences, and don’t hesitate to get creative with plant choices and arrangements. Happy gardening!